



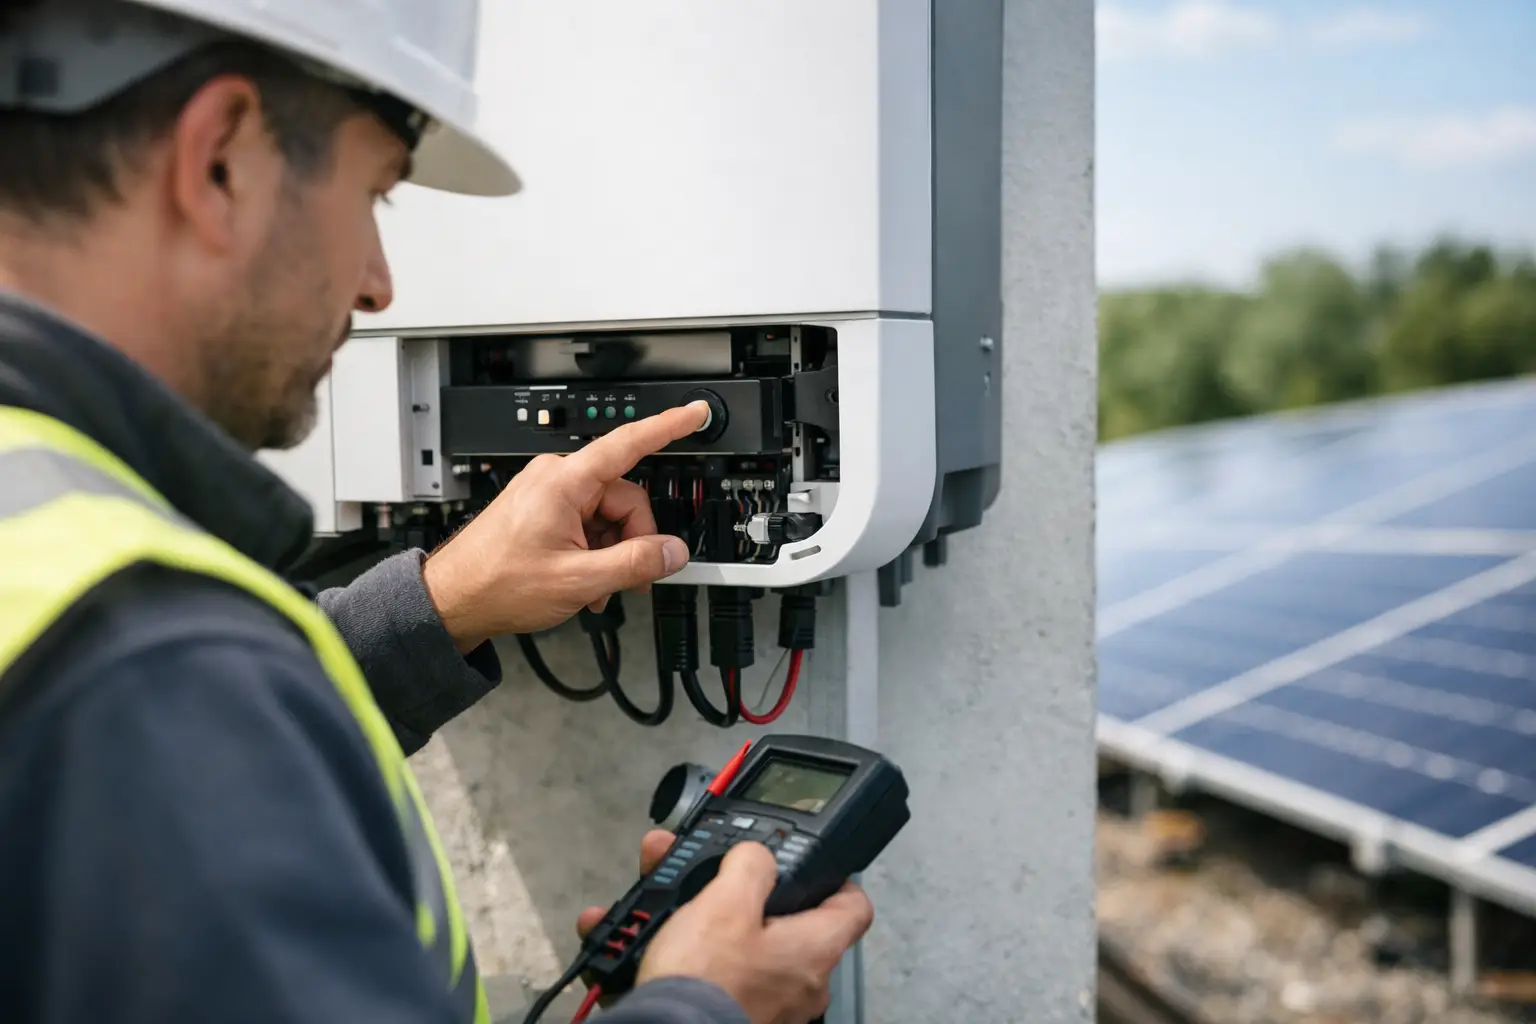
How does resetting an inverter during a fault work?
Your inverter is displaying an error message, the screen remains dark, or production has suddenly dropped to zero. The logical question then is: how does resetting an inverter work? A reset can resolve a temporary communication fault or a frozen safety feature. However, if you do it in the wrong order, the problem may persist or you might shut down the installation unsafely.
An inverter is the heart of your solar installation. It converts the direct current from the solar panels into usable alternating current for your home. If it stops working, you aren’t generating any solar energy. Acting quickly and correctly limits yield loss without taking unnecessary risks.
When is resetting an inverter useful?
A reset is not a solution for every problem. It primarily helps when the inverter has gone into a temporary fault due to a brief grid interruption, a voltage spike, a communication issue, or a software freeze. Many devices will restart afterwards and automatically check if the grid and the solar panels can operate safely.
First, look at the inverter’s display, the LEDs, or the app. Note the error code before you switch anything off. That code often reveals more than a general message like ‘error’ or ‘no production’. Also, take a photo of the screen. This saves time if you need technical assistance later.
A reset is less likely to succeed when the error message indicates insulation problems, a faulty fan, overheating, a connection issue, or a permanent grid fault. If the same error returns after the reset, do not keep resetting it repeatedly. Repeated resets can sometimes mask a fault that affects your yield and the lifespan of the installation.
How do you safely reset an inverter?
The exact procedure varies by brand and model. Therefore, always follow your inverter’s manual first. For most residential installations, the basic sequence is as follows: first switch off the alternating current (AC), then the direct current (DC) from the solar panels, and only then switch them back on.
Step 1: Check if a safe shutdown is possible
Do not touch the inverter if there is moisture, a burning smell, visible damage, loose cables, or an unusually loud noise. Do you see traces of soot, melted components, or a damp connection? Then do not proceed yourself. Turn off the solar panel group if it is safe to do so and have a technician inspect the installation.
Also, check if there is a general power outage in your area. With some grid problems, the inverter will wait automatically before reconnecting. In such cases, a reset is not necessary.
Step 2: Switch off the AC side
First, turn off the inverter’s circuit breaker or safety switch. This is the AC side: the connection between the inverter and your electrical installation. The location varies. Sometimes the switch is next to the inverter, sometimes it is in the fuse box.
Do this calmly and only use switches clearly intended for the solar installation. Do not randomly switch off groups in the box. Are you unsure which breaker belongs to the inverter? Then stop here. An incorrect switching action could shut down other appliances in the house and still won’t give you clarity regarding the fault.
Step 3: Switch off the DC side
Next, switch off the DC switch. This is the connection to the solar panels. On many inverters, this switch is located at the bottom or on the side of the device. Some installations also have a separate DC switch near the inverter.
Solar panels produce electricity as soon as light hits them. Even on a cloudy day, there is voltage on the cables. Therefore, never unplug connectors or cables. You should only perform the reset using the existing switches, without opening the inverter casing.
Step 4: Wait five to ten minutes
Wait at least five minutes, and ten minutes if in doubt. This allows internal components to become completely de-energized and gives the inverter time to clear its fault status. Switching it back on immediately is usually too fast and serves little purpose.
Use this time to note the error code, the time, and the weather conditions. This may seem like a detail, but it is valuable information if a fault recurs. For example, a fault that only occurs on hot afternoons requires a different check than a fault after rain or a power interruption.
Step 5: Switch back on in the correct order
First, switch the DC side back on and then the AC side. The inverter does not always start producing immediately. First, it performs safety checks. It often takes several minutes before the LEDs light up normally, the screen shows production, or the app receives data again.
The order may differ for certain brands. The manual, therefore, remains the leading guide. Do not force reset buttons with a paper clip and do not change settings in the installer menu. These may contain grid parameters and safety values that should only be adjusted by a qualified technician.
What should you check after resetting your inverter?
After about ten to fifteen minutes, check if the inverter is producing energy again. A green status light is usually positive, but preferably also check the current power in the app or on the display. Does it say 0 watts while the sun is shining? Then the installation may not have restarted yet, or the fault has not been resolved.
Don’t just compare the yield to a perfect summer day. On a grey winter morning, low production can be normal. Instead, compare it with similar days and times. This prevents you from confusing a weather-related difference with a technical problem.
Does the app remain offline while the inverter is producing? Then the problem might lie with the Wi-Fi connection, data logger, or monitoring, rather than the energy production itself. That distinction is important. Without reliable data, you will notice faults later and miss opportunities to quickly limit yield loss.
When is it better to call in a technician?
Call for technical help if the inverter does not restart after a correct reset, the same error code returns, or a red fault message persists. Do the same for a ground fault problem, an insulation error, a faulty fan, repeated shutdowns on sunny days, or a clearly lower yield without a logical explanation.
Don’t wait weeks with a fault that keeps recurring. Every day without production means missed yield. Furthermore, a small problem, such as poor ventilation or a worn connection, can become larger if it goes unnoticed.
A technician can assess the error code in context, measure cabling and safety features, check the ventilation, and analyze production data. At Solar Assistance, this is done with a focus on the cause, not just on restarting the device. This increases the chance of a permanent solution and less downtime.
A reset is no substitute for follow-up
A one-time reset after a brief grid disturbance is usually no cause for concern. Recurring faults, however, require follow-up. With periodic inspections and active monitoring, you will notice more quickly when an inverter is underperforming, failing regularly, or showing abnormal behavior.
The environment also plays a role. Dust around ventilation openings, high temperatures in a small technical room, or a nest under the panels can affect performance and safety over time. Preventive maintenance helps to find such causes in time, before they lead to long-term failure.
Can I reset my inverter when the sun is shining?
Yes, provided you only use the intended AC and DC switches and follow the prescribed sequence. Do not open any casings and never disconnect cables. If in doubt, it is better to wait for a technician.
How long does it take for the inverter to work again?
After switching it back on, expect it to take a few minutes to about a quarter of an hour. The inverter first checks the power grid and the safety of the installation. For some devices, this takes longer by design.
Will I lose data due to a reset?
A standard power-down and power-up reset normally does not erase historical production data. The current connection to the app may drop out temporarily. Therefore, note the error code and the time beforehand.
A reset is therefore a practical first step, not proof that the installation will work problem-free in the long term. Continue to check production in the following days. This way, you maintain control over your yield and address a recurring fault before it costs an unnecessary amount of energy.